Enjoy exclusive discounts on flower delivery!
Capturing Nature's Whisper: A Guide to Creating Beautiful Pressed Flower Clay Art
Blog post description.
8/29/20255 min read
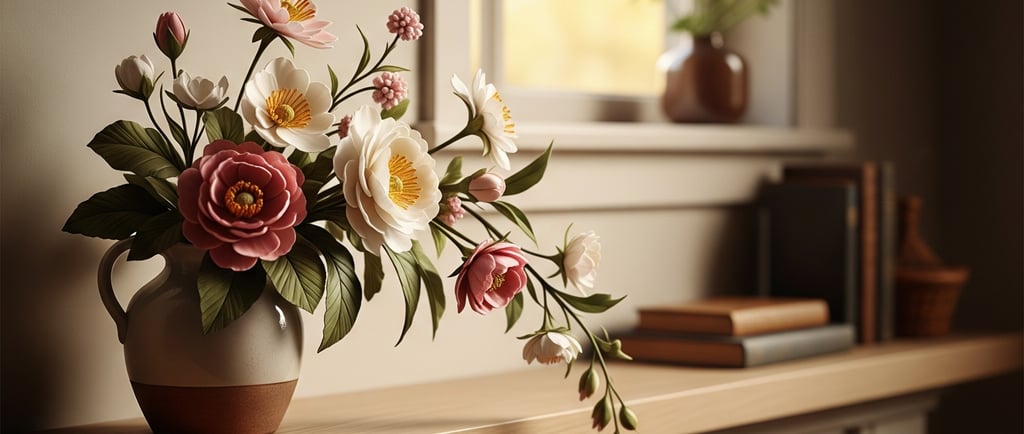
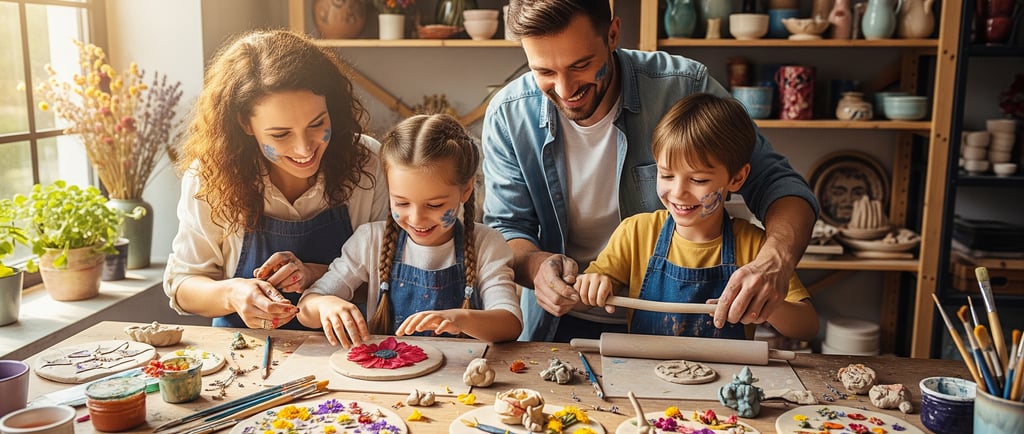
Have you ever found yourself walking through a garden, completely captivated by the delicate beauty of a single petal or the intricate lines of a leaf? It’s a moment, isn’t it? A little snapshot of nature that you just wish you could hold onto forever. Well, what if you could? What if you could take those fleeting moments of botanical perfection and press them into something lasting, something you could actually touch and feel?
That’s what creating pressed flower clay art is all about. It’s a craft that feels both ancient and refreshingly new, connecting us to the earth in a deeply personal way. You're not just making a decorative piece; you're preserving a memory, a season, or a moment in time. And honestly, it’s a lot easier and more rewarding than you might think. We're going to walk through the ins and outs, from the materials you’ll need to the little tips that make all the difference. Get ready to roll up your sleeves and get your hands a little dirty, because something beautiful is about to happen.
The Wonderful World of DIY Flower Clay Projects
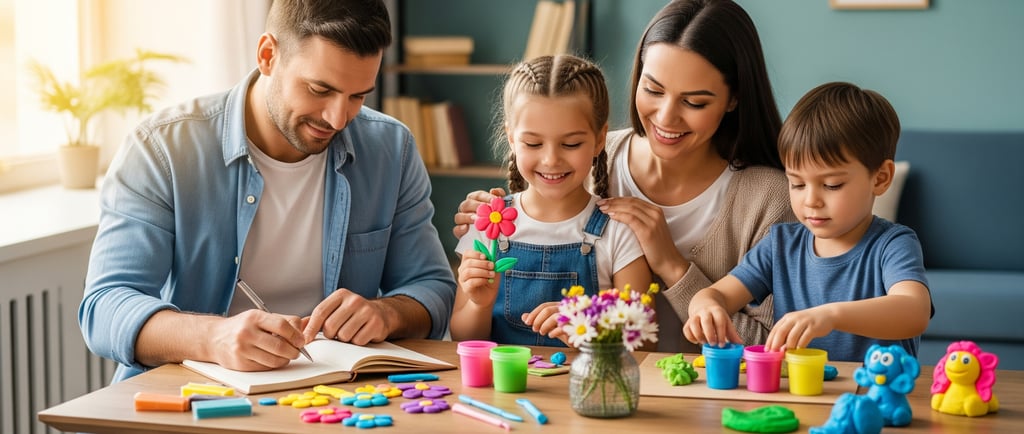
When you hear "clay art," your mind might jump to pottery wheels and kilns, right? But here's the thing: you can get stunning results with much simpler materials. For our purposes, we're talking about air dry clay and self-hardening clay. These are fantastic because they don't require any special equipment or a fiery-hot oven (well, most of them don’t!). They're perfect for beginners and seasoned crafters alike.
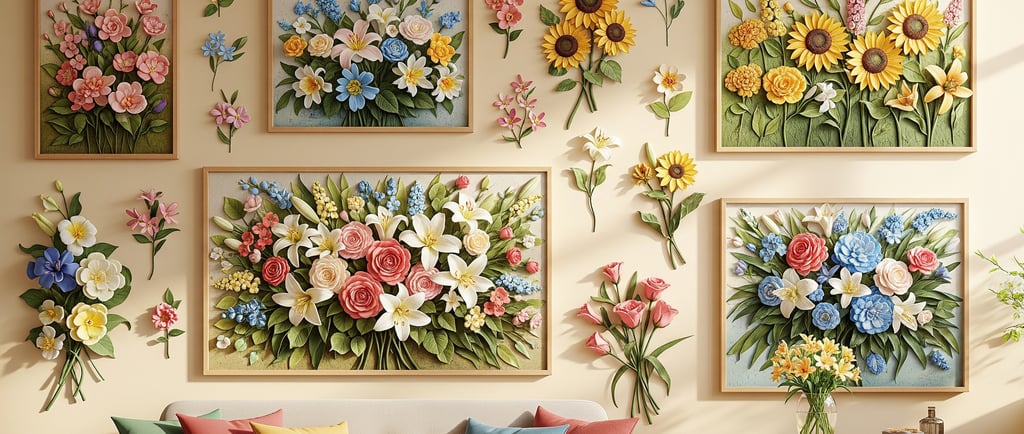
The magic truly happens when you combine the soft, pliable texture of the clay with the organic, often surprisingly strong, forms of dried flowers and leaves. You can create all sorts of things, from wall plaques and delicate dishes to coasters and ornaments. Each piece becomes a unique, miniature botanical landscape.

A Deeper Look: The Crafting Process and Botanical Impressions
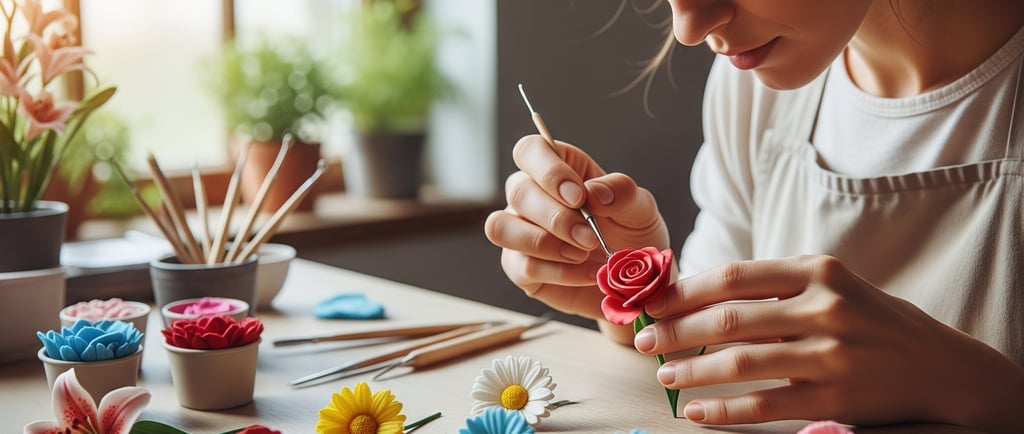
So, let's talk shop. Making these pieces isn't just about smashing a flower into some clay. There’s a bit of technique involved, a sort of dance between you, the clay, and your chosen flora.
First off, you’ll want to prepare your clay. Kneading it is key—it softens the clay and gets it ready to work with. Think of it like a chef kneading dough; it’s a necessary step to get that perfect consistency. Once it's pliable, roll it out evenly. You can use a rolling pin or even a smooth glass bottle. The thickness is up to you, but about a quarter-inch is usually a good starting point for things like wall art or a trinket dish.
Next, you get to the fun part: selecting your flowers. This is where your inner florist comes out to play. Small, flat flowers with defined shapes—like pansies, daisies, or even delicate ferns and herbs—work best. You’ll want to have them pressed and completely dry beforehand to avoid trapping moisture, which can cause issues down the line. Now, here’s the trick to getting those gorgeous botanical impressions: lay your flowers on the clay and gently roll over them one more time with your pin. The goal is to press the flower firmly into the clay without squishing the clay itself too thin. When you peel the flower away, you’ll be left with a stunning, detailed imprint, a perfect ghostly image of the plant.
Some folks like to leave the flowers in the clay and let them cure together, which can also be a beautiful effect. The flowers may darken and take on an "antique" feel, giving the finished piece a rustic, earthy vibe. It’s a mild contradiction, I know—we said "ghostly impression" before—but it's about what you want your final piece to be. Do you want the crisp, clean lines of a relief, or the tangible texture of the flower itself? It’s your call.

FAQ About Pressed Flower Clay Art
Q: Do I need to use a specific type of clay for pressed flowers?
A: Air dry clay is a perfect choice, especially if you're a beginner or crafting with kids. It's affordable, easy to work with, and doesn't require an oven. You can also use self-hardening or polymer clay. Just be sure to check the packaging instructions, especially if it requires baking, as some flowers might not handle the heat as well as others.
Q: How do I make sure the flowers don't get messy or fall apart when I press them?
A: The secret is to use well-pressed and dried flowers. The dryer they are, the less likely they are to stick or crumble. You can press your own flowers between the pages of a heavy book for a few weeks, or buy pre-pressed ones online. When you go to press them into the clay, do it slowly and with a light touch. You want a firm, even pressure, not a forceful smash.
Q: What do I use to seal the finished piece?
A: To protect your work and give it a nice finish, you can use a clear acrylic sealant or a product like Mod Podge. A simple spray-on sealer is easy to apply and gives a lovely, even coat. Sealing prevents moisture from getting in and protects the botanical impressions from fading or getting damaged over time. It's a crucial step if you want your creations to last!
From Raw Materials to a Cherished Keepsake
Once you've made your botanical impressions, you'll need to let your creations dry. For air dry clay, this can take a day or two, depending on the thickness and humidity. You’ll know they’re ready when they feel hard and light, a bit like a stone. Once dry, you can add final touches, like a thin layer of gold or silver paint on the edges to make it pop.
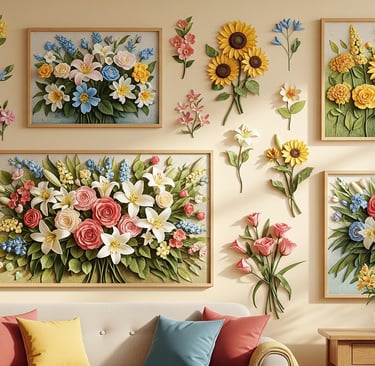
The beauty of this process is that every piece is a little bit different, a beautiful "imperfection." The organic nature of the flowers means no two imprints will ever be the same. That's part of its charm. You’re not trying to create a flawless, machine-made object; you’re capturing the fleeting, spontaneous beauty of nature.
Here’s the thing: it can feel a little intimidating at first. What if my clay isn’t the right thickness? What if the flower doesn’t make a perfect imprint? Honestly, just go with it. A slightly lopsided dish or a smudged leaf impression is what gives the piece its soul, its story. It's a handmade object, and its little quirks are part of what makes it so special and meaningful.
This kind of project isn't just a craft; it's a practice in mindfulness. It forces you to slow down, to notice the small things, and to appreciate the simple elegance of a garden petal. In a world that often feels fast and digital, taking the time to create something tangible and beautiful with your own two hands is a true gift.