Enjoy exclusive discounts on flower delivery!
The Quiet Magic of DIY Paper Flower Centerpieces
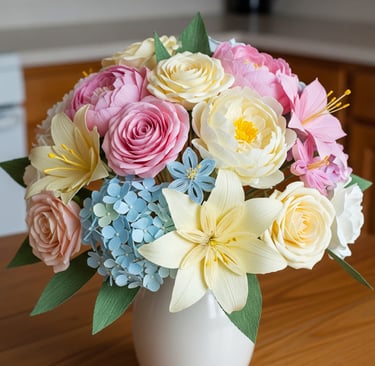
Discover the art of crafting DIY paper flowers, a way to create lasting beauty that never wilts. This is more than a simple craft; it's a creative solution to capture the perfect moment of a bloom, offering a permanent centerpiece for your home or a heartfelt handmade gift. By exploring different papers and techniques, you can infuse a piece of your own creativity into a unique object of beauty that lasts forever.
8/29/20255 min read

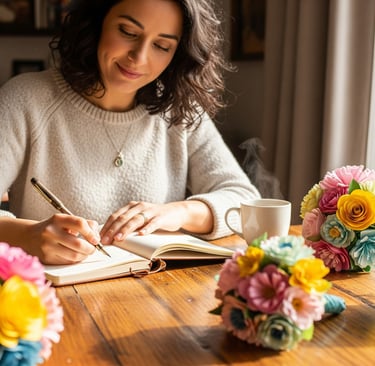
Have you ever walked into a room and felt an immediate sense of calm and beauty, only to realize the stunning floral arrangement was something a little different? Maybe it was the way the light caught the delicate edges, or the subtle, almost unreal perfection of each petal. Honestly, there’s a certain magic to a floral centerpiece, isn't there? It’s a focal point, a little slice of nature brought inside, but what if you could have that beauty forever? What if you could make it yourself? I’m talking about DIY paper flowers, and trust me, they're not just for kids’ craft projects anymore.
For years, I’ve been completely fascinated by the idea of creating something so beautiful and fleeting as a flower, but in a medium that lasts. We all know fresh flowers are lovely, a sweet, fragrant gesture that speaks volumes. But, let's be real, their beauty is all too brief. We spend good money on them, admire them for a few days, and then, poof, they're gone. And don't even get me started on the whole "I love this bouquet, but I wish I could keep it" emotional tug-of-war. That’s where the art of crafting paper flowers comes in. It’s a way to capture that perfect moment, that perfect bloom, and make it a permanent part of your home decor, a keepsake from a special occasion, or even a heartfelt, handmade gift.
Think about it: a stunning bridal bouquet that never wilts, a vibrant, lush centerpiece for your dining room that’s always in season, or a charming little posy to brighten up a desk. This isn't just about a practical solution; it's about infusing a piece of your own creativity, patience, and love into an object of beauty. You can get so granular with it, using different papers, different techniques, and different styles to create something utterly unique. You'll hear pros talk about the "weight" of the paper or the "stretch" of the crepe, and while that might sound a bit jargony, it's just about finding the right material to help you shape your floral vision. It's the difference between a delicate, almost see-through poppy and a sturdy, vibrant rose.
The Ultimate DIY Floral Arrangement: Your New Favorite Hobby
So, where do we start with this glorious obsession? Making your own paper flower centerpiece is simpler than you might think, and the payoff is immense. You don't need a fancy studio or a massive budget. A few basic tools and a bit of a creative itch are honestly all you need. You know those little moments in your day when you just need to decompress? This kind of crafting is perfect for that. It’s methodical, calming, and deeply rewarding. And let's not forget the sheer joy of watching something beautiful take shape right there in your hands.
Frequently Asked Questions About Paper Flowers
Q: What kind of paper is best for making paper flowers?
A: This is a great question, and the answer really depends on the kind of flower you're making! For big, dramatic flowers like roses or peonies, a heavier paper like cardstock works wonders. It holds its shape and gives the petals a nice, substantial feel. For something more delicate, like a daisy or a poppy, you'll want to try Italian crepe paper. It has an incredible stretch to it that lets you shape and cup the petals just like a real flower. There's also tissue paper for a more ethereal, light feel, perfect for a fluffy hydrangea or a sweet little cosmos.
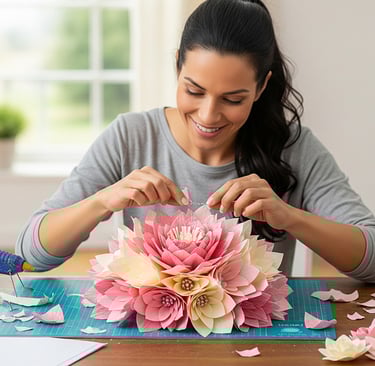
Q: How can I make my paper flowers look more realistic?
A: It's all in the details! To get that authentic look, you'll want to pay attention to two things: curling the petals and layering. Use a pencil, a wooden skewer, or even your fingers to gently curl the edges of each petal. This gives them that organic, soft shape. When you're gluing them together, don’t just line them up perfectly. Overlap them, and stagger the layers to mimic the way real petals grow. Also, you might want to add a bit of subtle color with a pastel chalk or a sponge dauber to the tips of the petals to give them depth.
Q: Are paper flowers a good alternative for a wedding?
A: Absolutely! This is one of the most compelling reasons to choose them. The longevity is a game-changer. Imagine keeping your handmade bouquet as a cherished keepsake for years to come—something you can pass down or simply admire on your mantel. They’re also perfect for a destination wedding, as you can pack them easily without worrying about them wilting or getting damaged. Plus, you can craft them in the exact colors and styles to match your wedding theme, something that can be difficult and expensive to do with fresh flowers that are out of season.
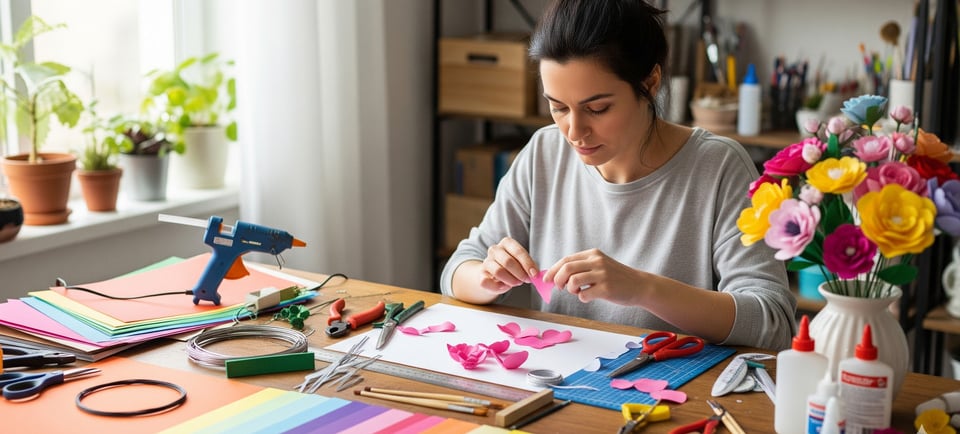
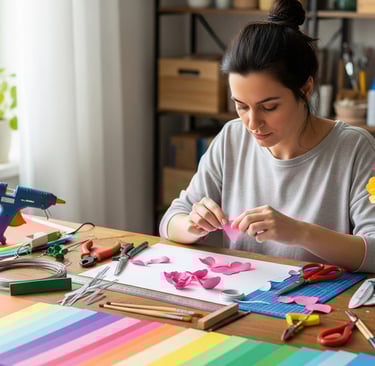
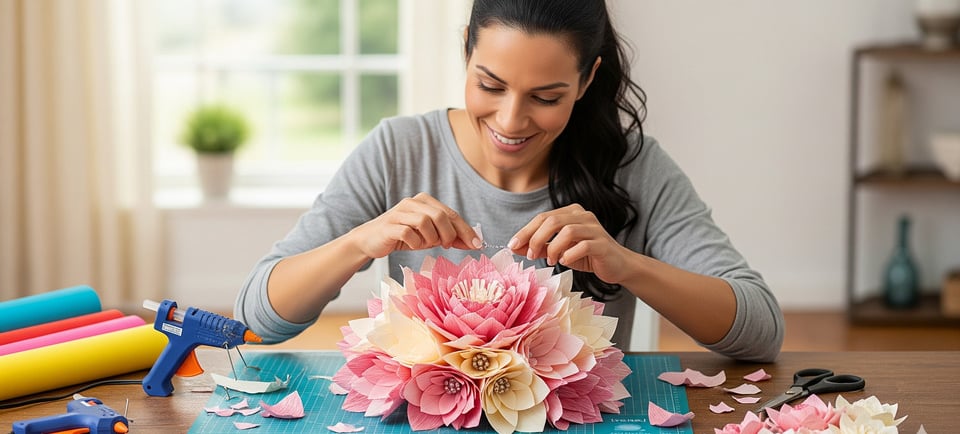
The Tools of a DIY Paper Florist: What You'll Need
Paper: Italian crepe paper is the gold standard for its stretch. Cardstock is fantastic for structure and durability. And don't sleep on good old tissue paper for a light touch.
Scissors: A good, sharp pair of scissors will make your life so much easier. Consider a smaller pair for cutting detailed shapes.
Hot Glue Gun & Glue Sticks: This is your best friend for securely assembling your flowers. It sets quickly and holds tight.
Pencil or Wooden Skewer: This is your secret weapon for shaping and curling those petals.
Floral Wire & Tape: For creating stems that are both strong and realistic.
Templates: You can find free printable templates online for just about any kind of flower. This is the easiest way to get started!
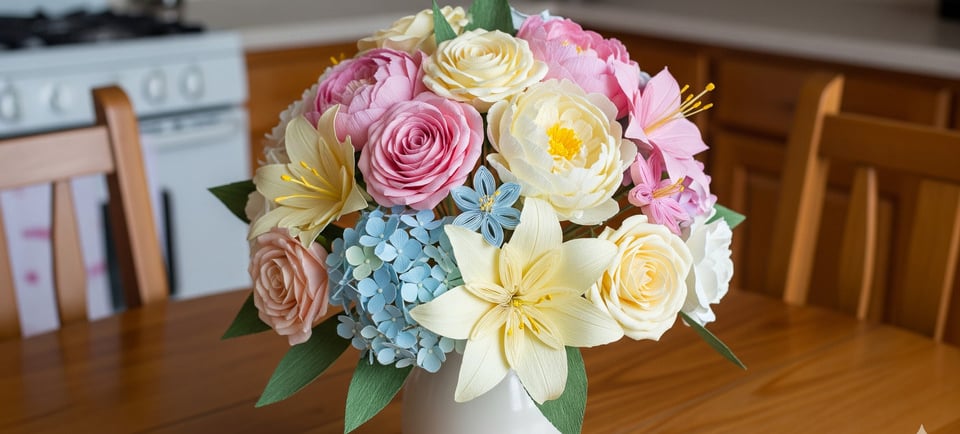
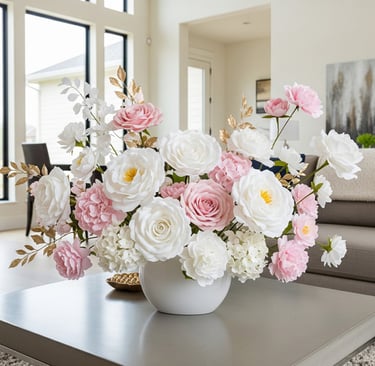
From Petals to a Perfect Centerpiece
Alright, so you've cut and shaped your petals. You’ve painstakingly layered them, adding a dash of blush here and a subtle curl there. Now what? The beauty of a paper flower centerpiece is that you can arrange it however you like. You can bundle them into a bouquet and place them in a beautiful vase, or you can create a sprawling floral runner for a table. Maybe you want to mix in a few different types of flowers—a sturdy peony next to a delicate poppy—to create a dynamic arrangement with different textures and depths. This is where your personal style really shines.
Think about the unexpected. What if you added a few paper leaves you made from a different shade of green to add more depth? Or maybe you mix in a few repurposed elements, like a twig from a walk in the woods to give it an earthy vibe. The possibilities are truly endless, and because they won't wilt, you can take your time, fussing and arranging until it’s absolutely perfect.
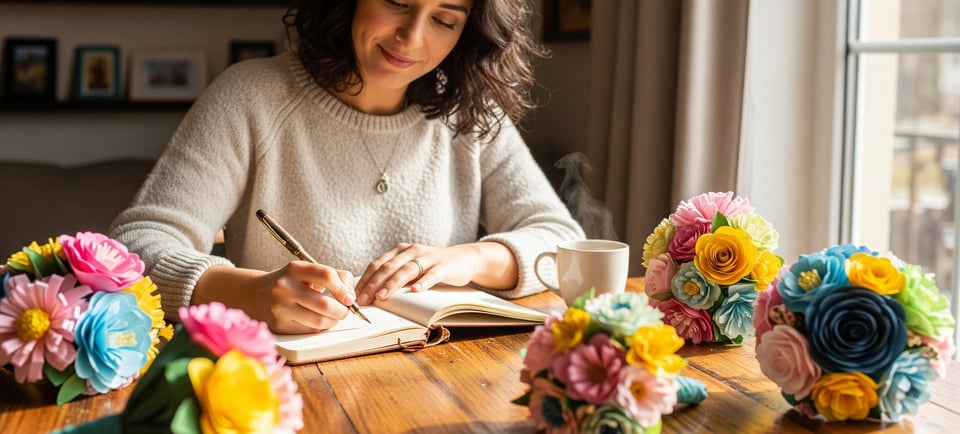
Let's just be honest, there is something profoundly satisfying about a project you can truly call your own. The subtle imperfections, the slightly off-center petal, the tiny smudge of glue—those aren't mistakes. They're the marks of a human hand. They tell a story. They’re what make a handmade flower so much more than just a decoration. They are a little piece of you, brought to life.
And when someone asks where you got that magnificent centerpiece, you get to say, with a smile, "I made it myself." What could be better than that?