Enjoy exclusive discounts on flower delivery!
The Art of the DIY Burlap Flower: A Rustic Charm You Can Make Yourself
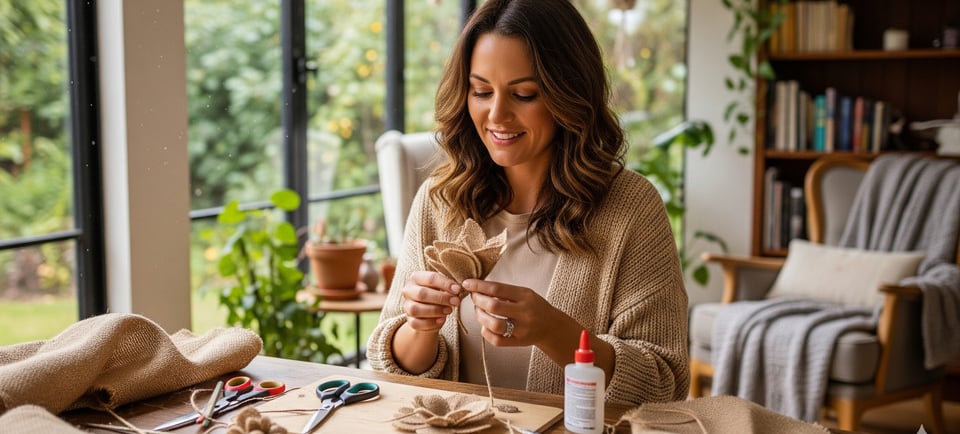
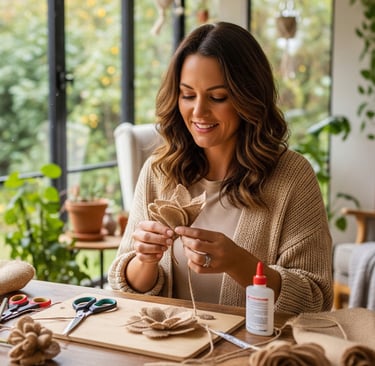
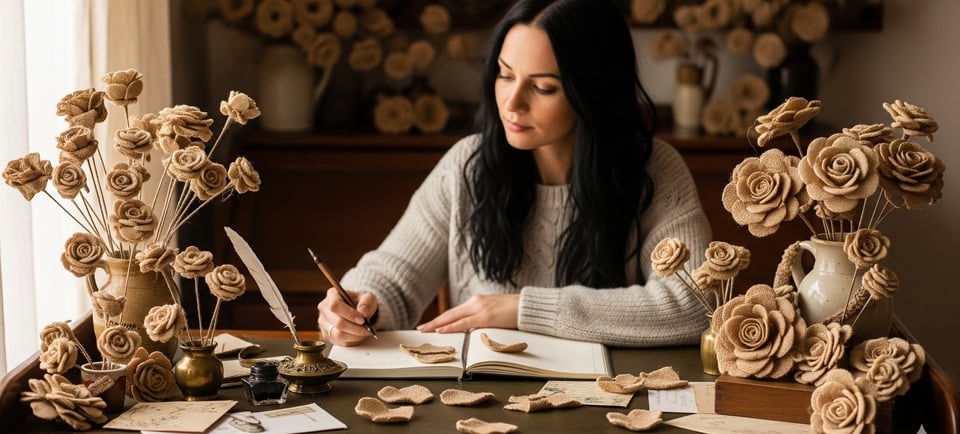
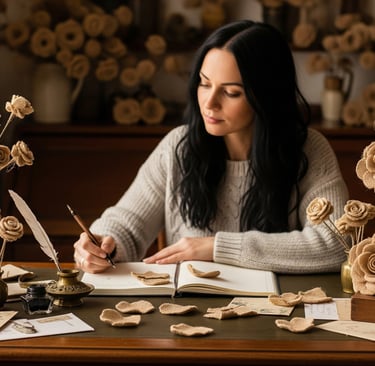
If you've ever admired the rustic, chic charm of burlap flowers, you'll be surprised to learn that making them yourself is easier than you think. This simple craft is a game-changer for anyone wanting to add authentic, handmade charm to their home or special event without spending a fortune. It's a satisfying project that allows you to create beautiful, textured decor and take pride in saying, "I made these myself."
8/29/20255 min read
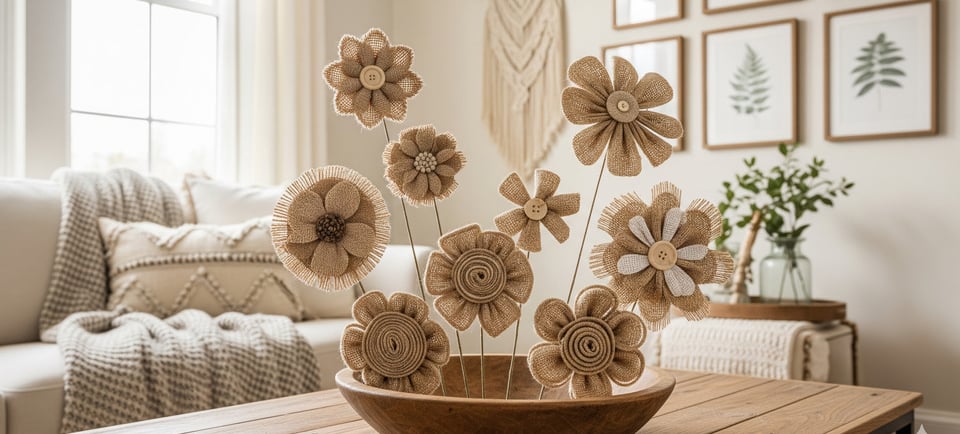
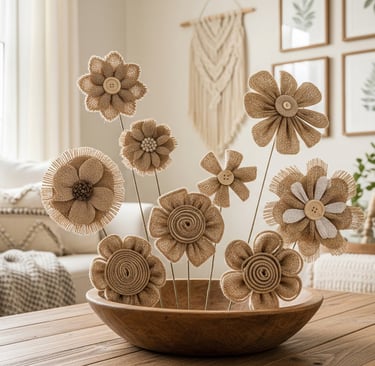
Ever find yourself scrolling through Pinterest, completely mesmerized by those beautiful, rustic-chic decorations? You know the ones—all warmth and natural texture, perfect for everything from a cozy farmhouse vibe to an elegant, bohemian wedding. Honestly, when I first saw burlap flowers, I thought they were some kind of super complicated craft that only pros could pull off. But here’s the thing: making your own is surprisingly simple, and the final result is just so satisfying.
This isn’t just about a fun weekend project; it's about adding a little piece of yourself to your home or a special event. Whether you're a seasoned crafter or just someone who's tired of spending a fortune on home decor, creating handmade flowers from burlap is a game-changer. It's a fantastic way to add a touch of authentic, country charm without breaking the bank. And let me tell you, when your friends ask where you got them, there's a certain pride that comes with saying, "I made them myself."
What’s the Big Deal with Burlap?
Burlap, or jute fabric as it's often called, has this wonderfully raw, almost imperfect quality to it. It’s got a bit of an "I-just-threw-this-together" look, which is exactly why it works so well for that rustic aesthetic. The coarse texture and natural, earthy tones of burlap make it an incredibly versatile material. Think of it like the little black dress of crafting supplies—it goes with just about everything. You can use it as is for a truly natural feel, or you can get creative and dye it, embellish it with lace, or add some sparkle to it. It's all up to you!
One of the best parts about working with burlap is that you don’t need any fancy tools. Seriously. A good pair of scissors, some glue (a hot glue gun is a lifesaver here, trust me), and the burlap itself are really all you need to get started. It’s a craft that's all about embracing a bit of a laid-back, "let's see what happens" attitude.
Unraveling the Secrets: A Quick Guide to Making Burlap Flowers
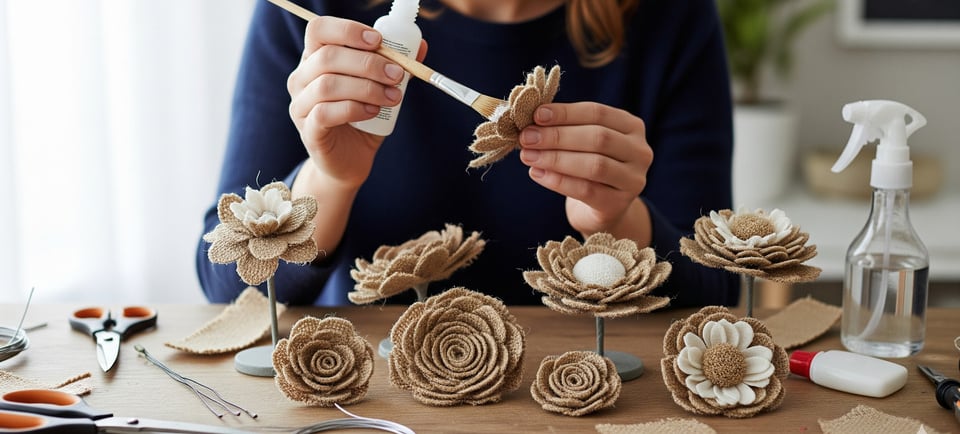
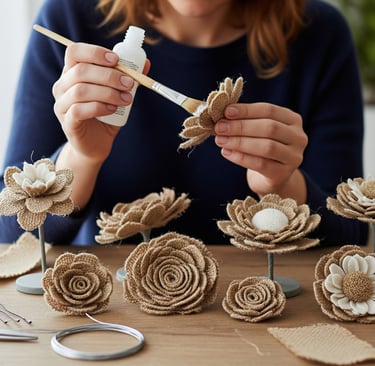
There are a few different ways to create DIY burlap flowers, and they each have their own unique charm. Let's talk about a couple of the most popular methods. You’ve got the rolled rose method and the loopy flower technique. Both are fairly straightforward, but they produce totally different looks.
The rolled rose is exactly what it sounds like. You take a strip of burlap, fold it, and then carefully roll it up, securing it with glue as you go. It’s a classic for a reason—it creates a tight, beautifully structured flower that looks like a miniature rose. This style is perfect for adding a refined touch to a bouquet or as a centerpiece decoration. The key here is a slow and steady hand, and just a tiny bit of glue at a time to make sure you're not getting a big, messy glob.
The loopy flower, on the other hand, is a bit more playful. It’s a great option for those wanting to create fuller, fluffier blooms. This method involves cutting strips of burlap, creating loops, and then gathering them together to form a flower shape. This is where you can really play with the size and density of your burlap flower. Want a big, dramatic bloom for a wreath? Just use a longer strip and make more loops. It's a very forgiving technique, so even if a loop or two is a little crooked, it just adds to the overall rustic charm.
What about the Fraying?
Okay, let's address a common concern. Burlap is known for fraying. It’s just what it does. But you know what? That’s not a bug; it’s a feature! That slight fraying gives the flower a beautiful, worn-in look. Some people even encourage it by pulling out a few of the threads on the edges to create a soft fringe. If you’re really not a fan of the fray, you can use a bit of fabric stiffener or Mod Podge on the edges before you start. It’s one of those stylistic choices that comes down to personal preference.
FAQs: Your Burlap Flower Questions Answered
Can I use burlap ribbon instead of fabric?
Absolutely! Burlap ribbon is often easier to work with because the edges are already finished, which helps with the fraying issue. It's a great option for smaller projects or for those who want a quicker process. Just make sure it's wide enough for the size of flower you're trying to create.
What kind of glue should I use?
A hot glue gun is the go-to for most burlap flower tutorials. It sets up almost instantly, which is super helpful when you're trying to hold a rolled flower in place. For projects that need more finesse or if you don't have a hot glue gun, Tacky Glue or a good-quality fabric glue will also work, but you'll need to be a little more patient as it dries.
How can I make my burlap flowers last longer?
The biggest threat to a burlap flower is moisture and dust. To protect them, you can spray them with a clear, matte sealant or a fabric protector spray. This will help them hold their shape and keep them from collecting too much dust over time.
Are burlap flowers only for rustic decor?
Not at all! While they're a natural fit for rustic themes, you can use them in so many ways. For a beachy vibe, combine them with seashells and twine. For a chic look, add some pearls or rhinestones to the center. They're also perfect for Christmas wreaths, fall arrangements, and even as embellishments on gift wrapping.
Bringing Your Burlap Flowers to Life
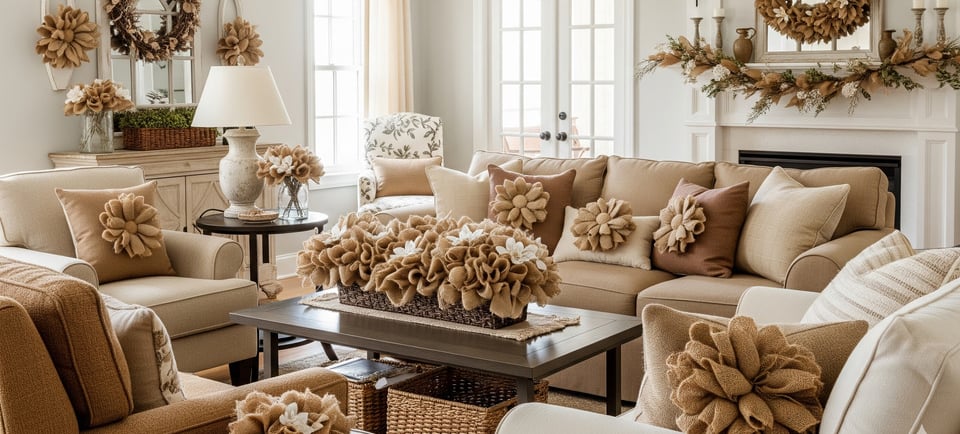
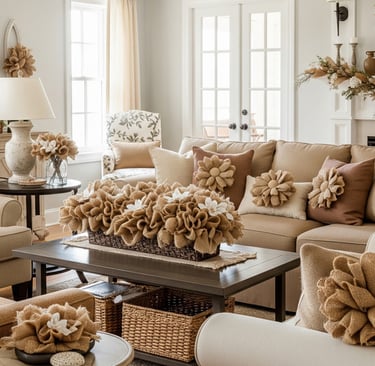
Once you’ve mastered the basic techniques, the real fun begins: thinking about all the ways you can use your burlap flower creations. These aren't just one-trick ponies; they can be used for so much more than just a centerpiece.
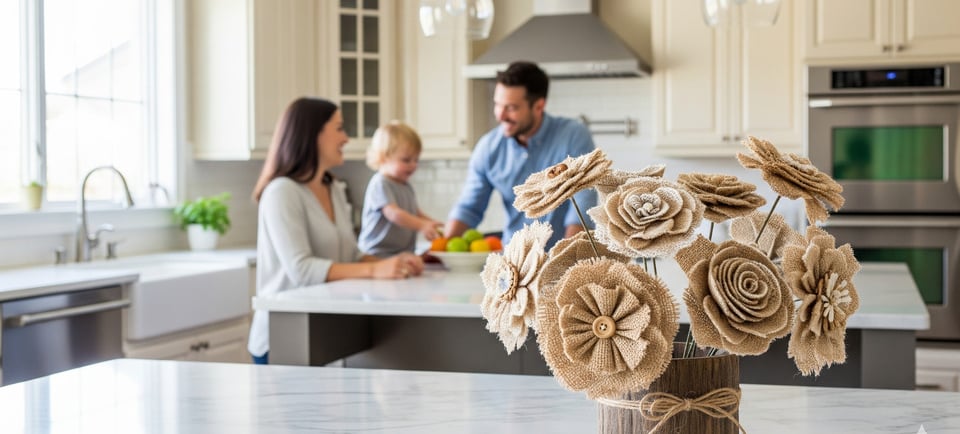
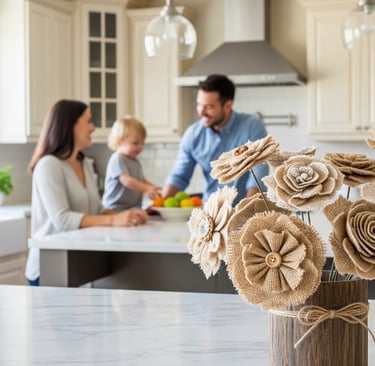
Imagine a rustic burlap flower wreath hanging on your front door, a subtle nod to the changing seasons. Or what about a simple burlap bouquet tied with a piece of twine, sitting in a vintage mason jar on your windowsill? These little touches can completely transform a space. You can even use them to decorate gift boxes, jazz up a plain lampshade, or add a bit of flair to a plain picture frame.
And for those of you who are thinking about a big event, like a wedding, burlap flowers are an amazing way to save money and add a personal touch. You can make them in a variety of sizes and colors to create unique boutonnieres, table markers, or even aisle decorations. They are perfect for a rustic wedding theme and a wonderful alternative to fresh flowers, which can be expensive and delicate.
So, whether you’re making a simple burlap flower with a button center or a full-blown bouquet with stems and leaves, the process is incredibly rewarding. It’s a gentle reminder that some of the most beautiful things are made by hand, with a little patience and a lot of heart. Why not give it a try this weekend? You'll be amazed at what you can create.